How to set up an email account in
MS Outlook 2003 in several steps
|
|
Email set-up information is provided as a courtesy to LPH hosting services clients.
If (after following the instructions) you are unable to set-up your email account, please consult Microsoft Outlook Help.
If you are
please contact your IT support resource.
LPH doesn't have the support staff--nor charge fees-- that allow for support staffing to solve
email set up issues on client computers.
|
| |
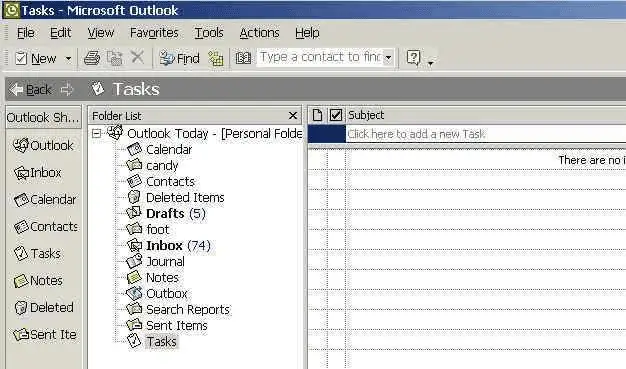
Begin setting up an
Outlook email account by opening Outlook.
The screen below will be displayed.
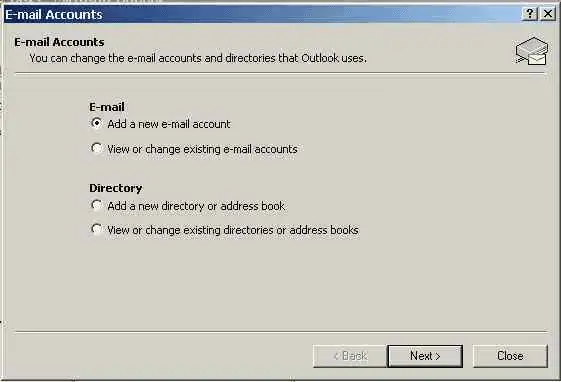
Click on Tools/Email Accounts. |
The screen below will be displayed.
Click on Email/Add a new email account. Click on next.
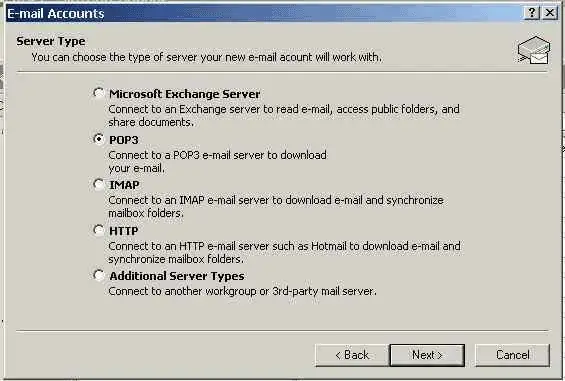
The screen below will be displayed.
Click on POP3. Click on next.
The screen below will be displayed:
Fill in Your Name box. Fill in E-mail Address box.
Fill in User Name box.
(IMPORTANT use entire email address as shown below)
Fill in Password box using the password that was set up for your
email account on the
server.
Fill in POP3 box using the following format:
mail followed by your
website name (all information in lower case) See example
Fill in SMTP box using the following format:
mail followed by your
website name (all information in lower case) See example
Be certain that the user
name & password match the email account information set up on your
web site.
Test the email account by clicking on "Test account settings".
( Verify the user name and password information with the person
responsible for email account set up on your web site.)
If the email account test shows errors,
Check all information in the boxes &
retest.
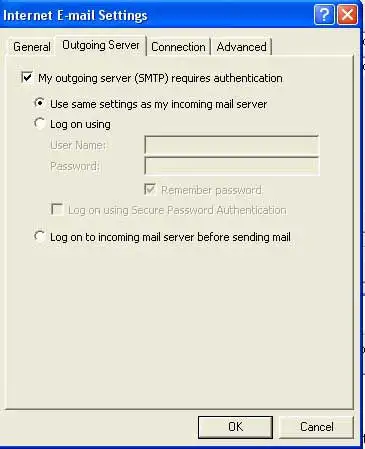
When the email account passes the test ,click on More Settings/Advanced.
The screen below will be
displayed. Click on Outgoing server tab.
Check "My outgoing server (SMTP) requires authentication"
Click " Use the same settings as my incoming server"
Click on Advanced tab.
POP3 port 995 IMPAP port 443 Select TSL for encryption for both incoming and outgoing ports
SMTP port 587 (depends upon your ISP requirements which vary) We recommend using port 587 because some ISPs block port 25.
Make sure the Delivery check box is unchecked. If "leave a copy on the server"
is checked all the read emails will remain on the server & the email box will fill up.
(If you wish to
pick up the email for one account from more than one computer, click on "leave a copy on the server" AND click on
"remove from server" after x days - don't use a high number or your email
account will fill up)
Click OK
When the next
screen displays Click on finish.
Your email account set up
is complete.