|
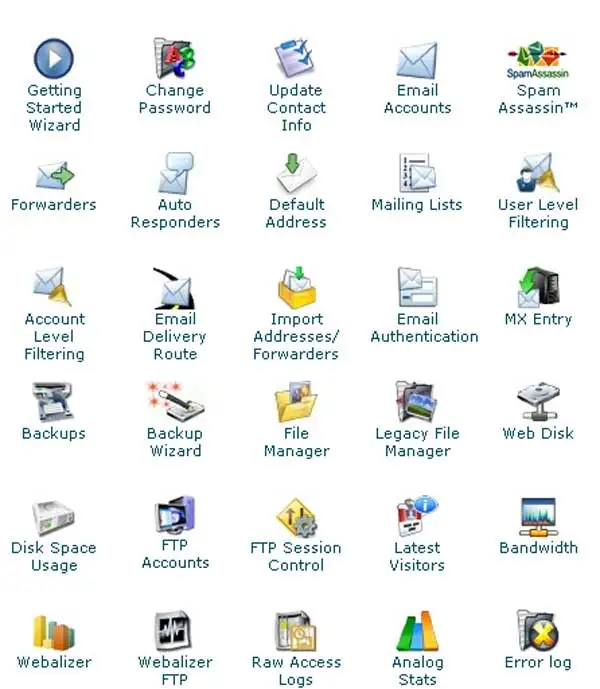
4. The menu below will pop up. Select Web Root. Click
on Go. .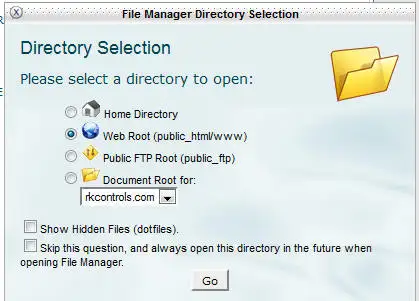
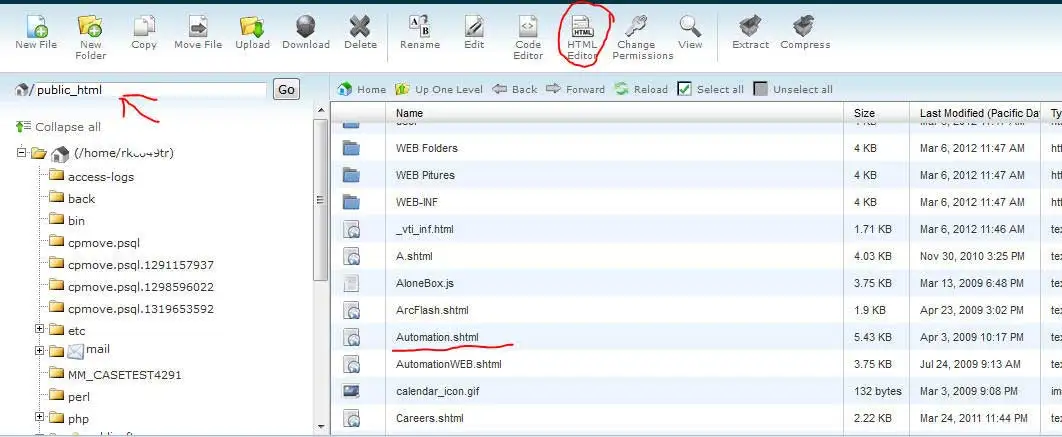
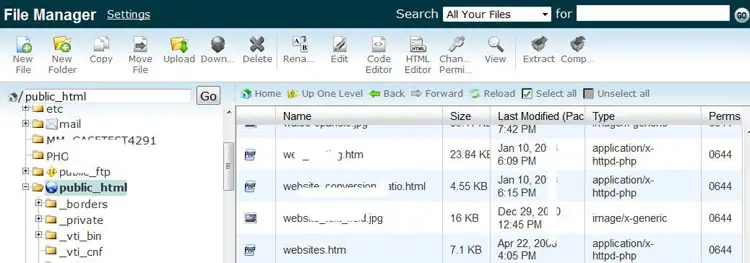
5. The screen below will appear. Note: you are
now in the public_html folder, which is the root directory.
If you are doing a very simple edit (i.e. changing a
phone number) and are certain that
you will not mess up the web page you may skip steps #6 to # 9 and # 13 to #
16.
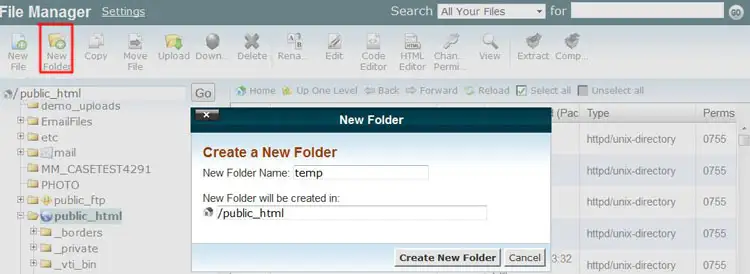
6. To ensure an existing web page is NOT incorrectly edited, create a new folder.
You will use this folder to place a copy of the html page you want to
edit. Click on:
New Folder (top menu item bounded in red, below). A menu will pop up.
Fill in folder name. Click Create New Folder.
7. Next navigate to the file you want to
copy. Click on the file name.
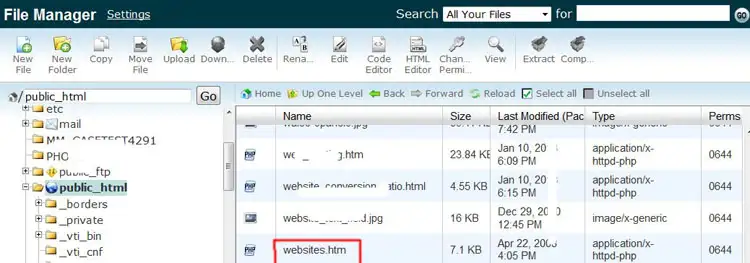
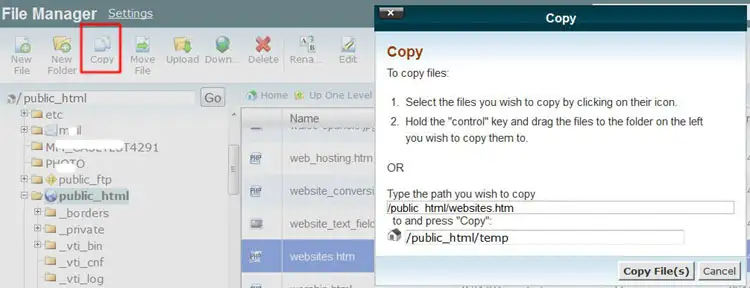
8.Click Copy (top menu item bounded in red, below). A menu will pop
up. Type in the folder name you created. Click Copy File.
9. Click Rename File (top menu item
bounded in red, below). A menu will pop up.
Type in new name. Click Rename file (at bottom).

10. Click
on the html file you want to edit. Next click on HTML Editor
|
|
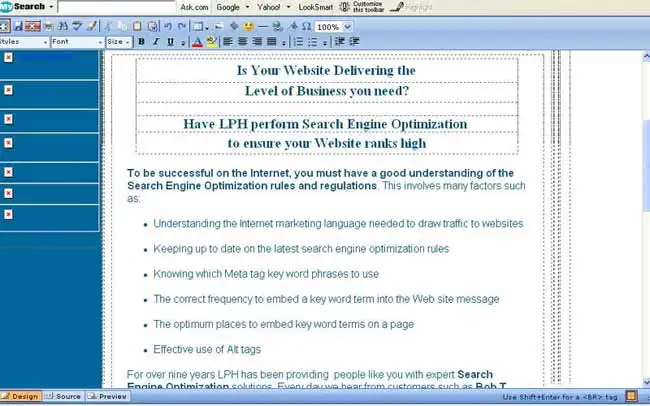
12. The operation of the design editor is very
similar to MSWord. You may change text, fonts and images. Click on Save
when you have completed changes. Check the changes
by going on the edited web page with a browser. If everything looks good,
proceed to step #13.
13. If you
created a new folder and new file as outlined in steps #6 to #9, Click on
the original file. Click on Rename File (top menu item). A menu will pop
up.
Rename the original file using the file name and adding -old as
a suffix. Click on Rename File

14 . Navigate to the file (with the corrections/edits) in the new folder. Rename
the file to the same name as the
original file.
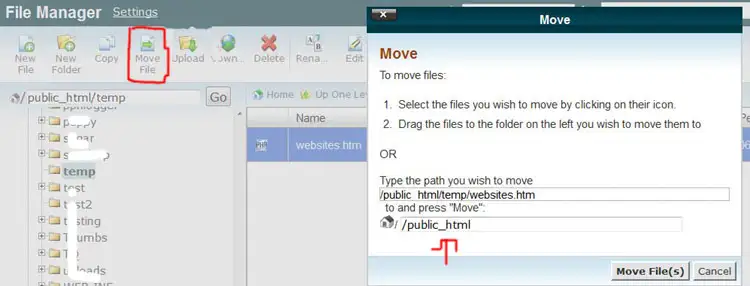
15. Move the new edited file (that now has the name of the original file) to
the folder or root
of the original file by clicking on the
16. The
editing process is complete. The edited web page is now live.
Recheck the changes by going on the web page, that was edited, renamed and
moved, with a browser.
|


